15 Brilliant Small Kitchen Open Shelving Ideas to Maximize Space
If you’ve ever stared at a tiny kitchen and thought, “I need more space, but I also want it to look like I have my life together,” open shelving is usually the first idea that pops up, and for good reason. The right shelves can make a small room feel lighter, help you actually use the stuff you own, and turn everyday dishes into part of the design, but the wrong setup can get cluttered fast and start feeling like visual noise.
In this roundup of 15 Small Kitchen Open Shelving Ideas, I’m not walking you through a step-by-step renovation plan, because that’s not what this is. Instead, you’ll see the kinds of shelf placements, layouts, and styling choices that work in real homes, plus the little details people often overlook, like what to store where, how to keep it looking intentional, and the common mistakes that make open shelves feel messy instead of effortless.
✨ Before You Start: The Open Shelf Mindset
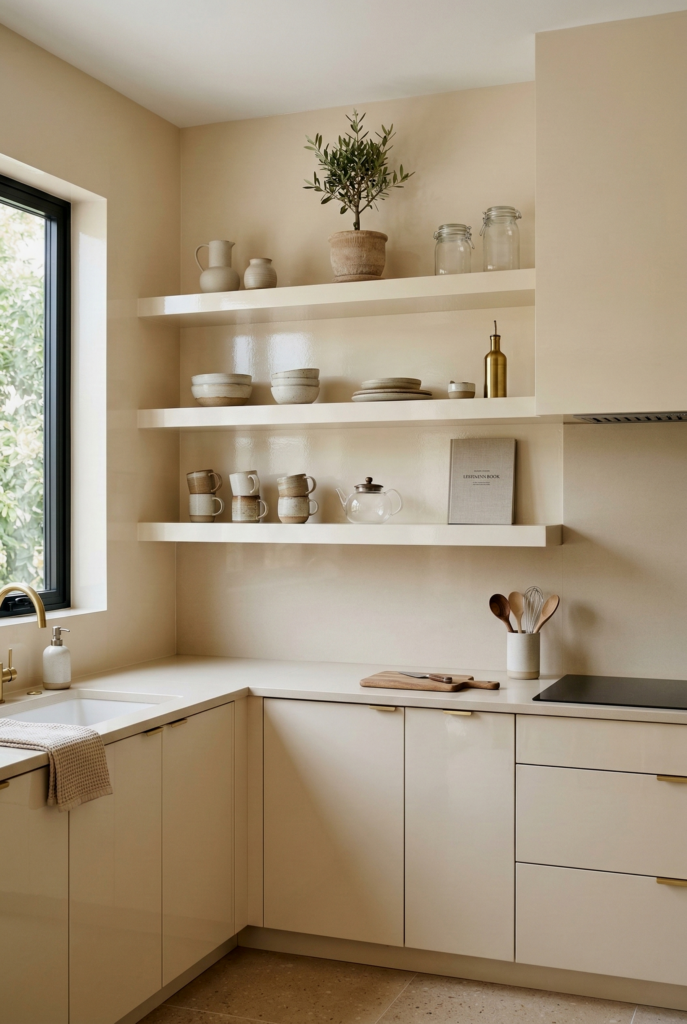
1. The Classic Floating Wood Shelves
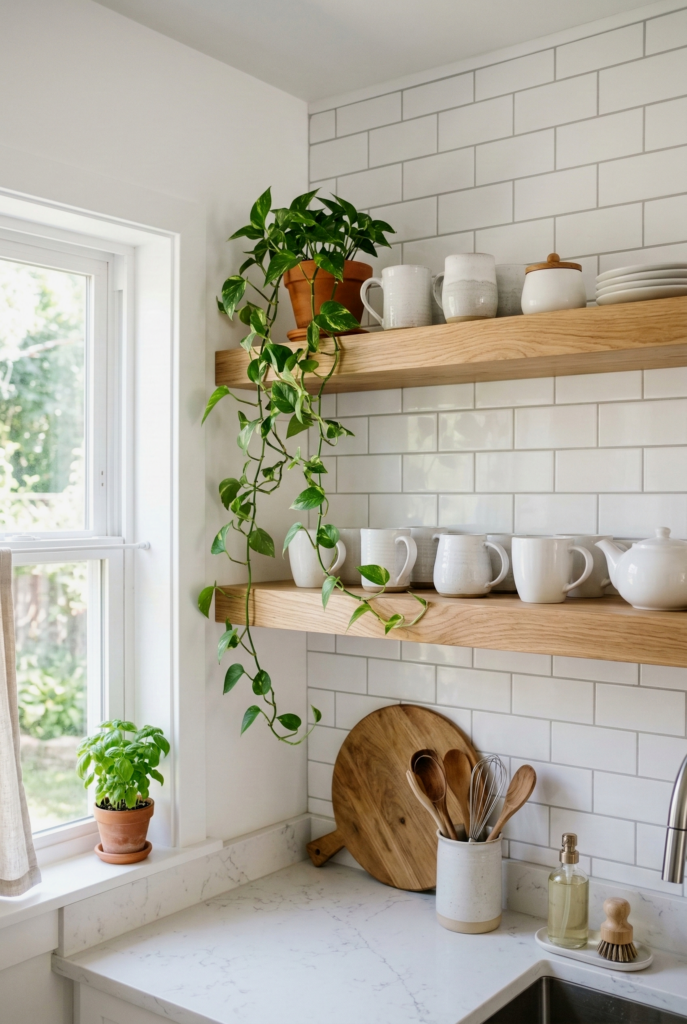
The gold standard of open storage. By using hidden steel brackets bolted directly into the wall studs, thick wooden shelves appear to float effortlessly. In a small kitchen, replacing even one 24-inch cabinet with two floating white oak shelves instantly opens up the visual pathway, making the room feel infinitely lighter and highly custom.
Want your shelves to look like a magazine spread? Follow the designer formula:
- Step 1 (The Anchor): Place your heaviest, most functional items (stacks of white plates or bowls) on the lowest, easiest-to-reach shelf.
- Step 2 (The Height): Add varying heights on the middle shelves by leaning wooden cutting boards or tall glass decanters.
- Step 3 (The Life): Fill the top shelf with aesthetic glassware and a trailing pothos plant to draw the eye up to the ceiling.
2. Corner Wrap-Around Shelving
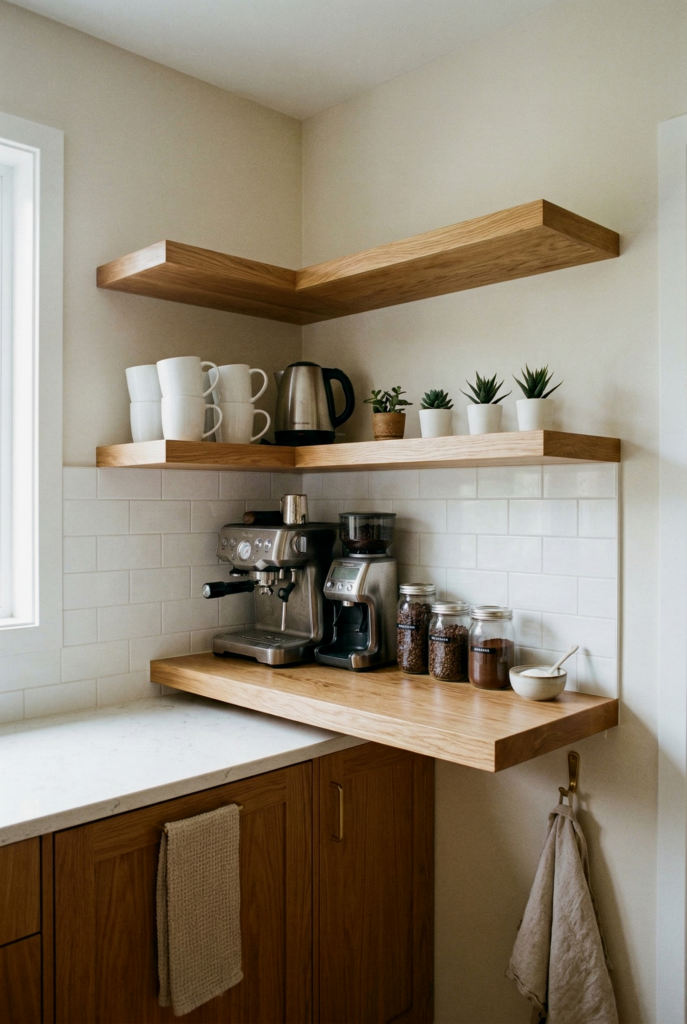
Corners in tiny kitchens are notorious dead zones. Standard square cabinets usually result in “blind corners” where things get lost. Custom L-shaped floating shelves wrap seamlessly around the corner, utilizing every single inch of available wall space while keeping your coffee mugs and plates highly accessible.
3. Above-the-Sink Display
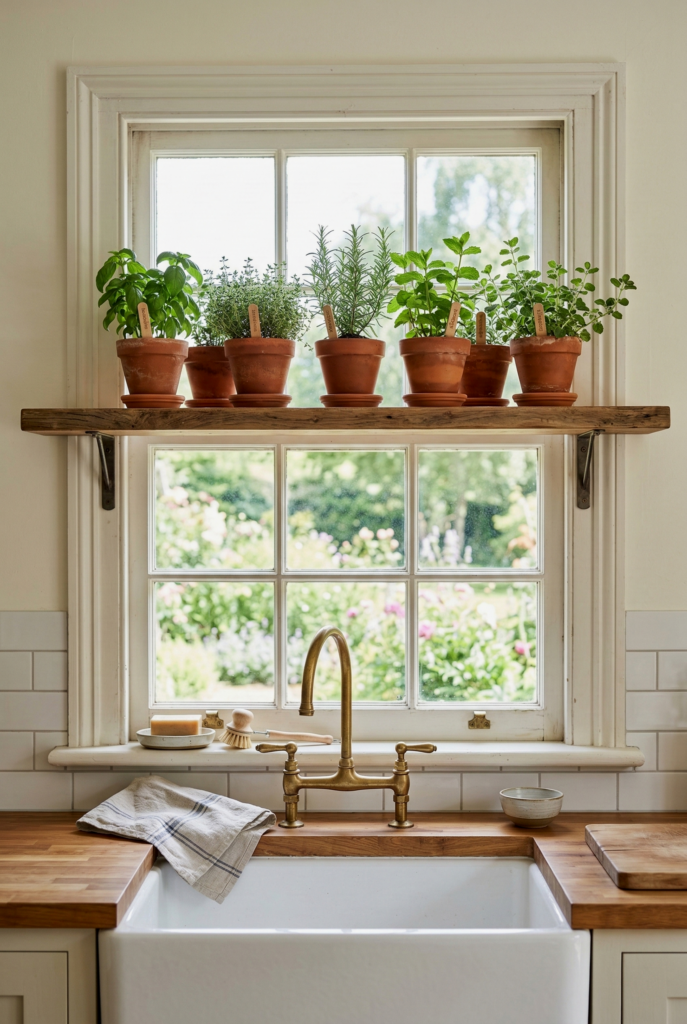
If your kitchen has a window over the sink, do not block the light with side cabinets. Instead, run a single, sturdy piece of open shelving straight across the middle or top of the window frame. It is the absolute perfect place to grow small potted herbs that benefit from the sunlight and the humidity of the dishwater!
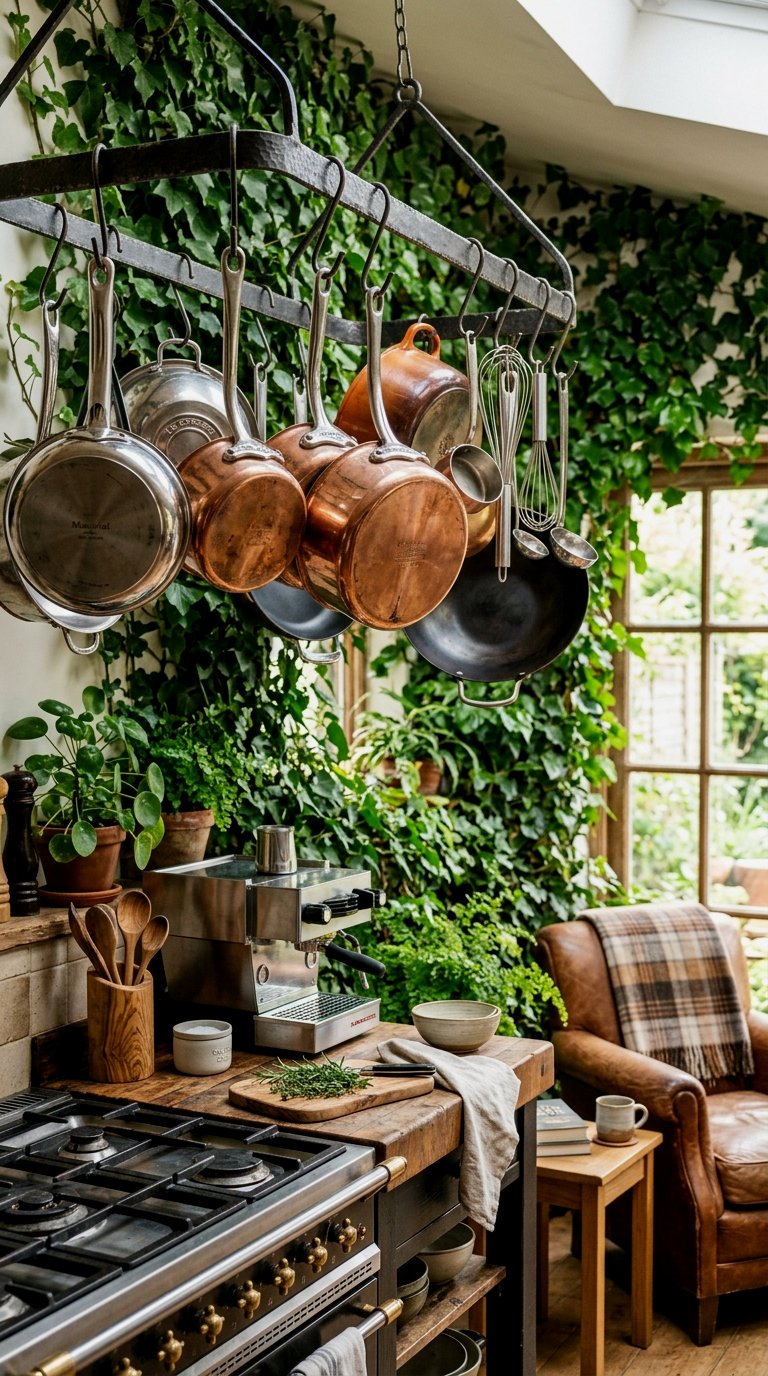
4. Suspended Ceiling Shelves
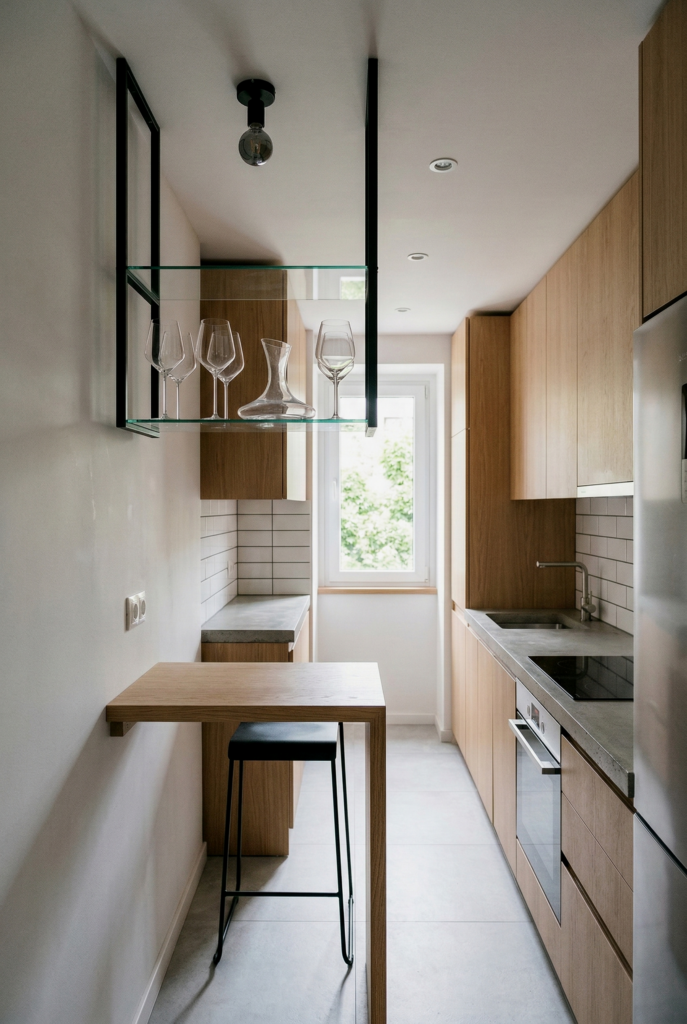
What happens when you literally have no blank walls left? You look to the ceiling. If you have a small peninsula or a tiny island, you can hang minimalist metal brackets from the ceiling to suspend glass or wooden shelves in mid-air. This gives you storage without blocking the sightlines to the rest of your apartment.
5. Brass Gallery Rail Shelves
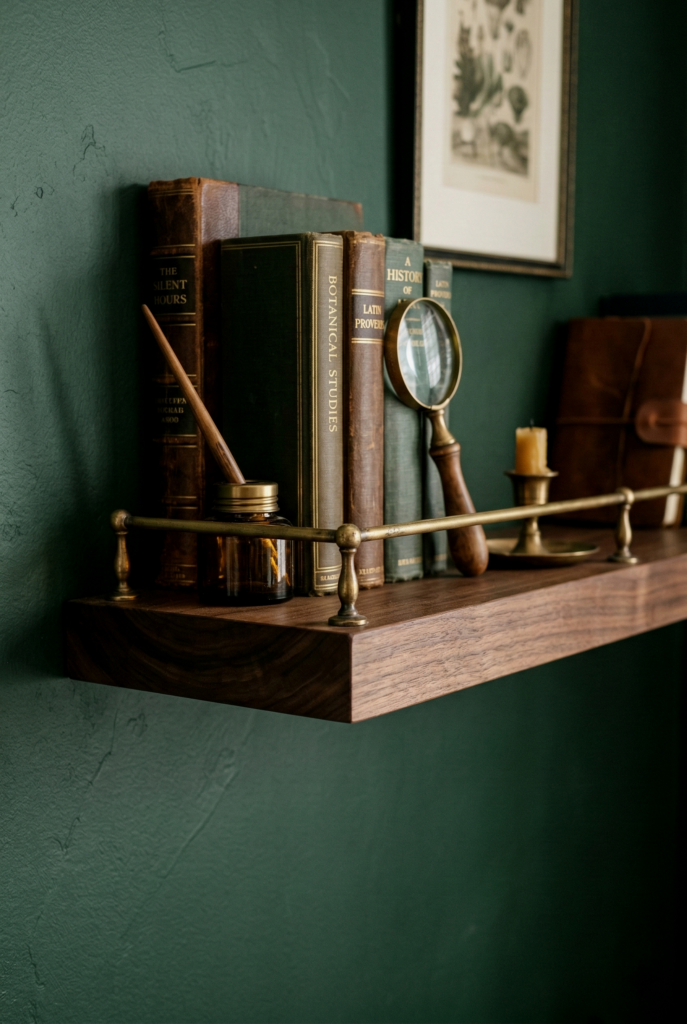
If you want to elevate a basic wooden shelf, lean into the Dark Academia aesthetic. Adding a thin, unlacquered brass gallery rail to the front edge of a dark walnut shelf instantly makes it look like a piece of historic, bespoke furniture. It also practically prevents delicate glassware or spice jars from slipping off the edge.
Get the bespoke look with our favorite aesthetic open shelving hardware:
6. Minimalist Japandi Ledges
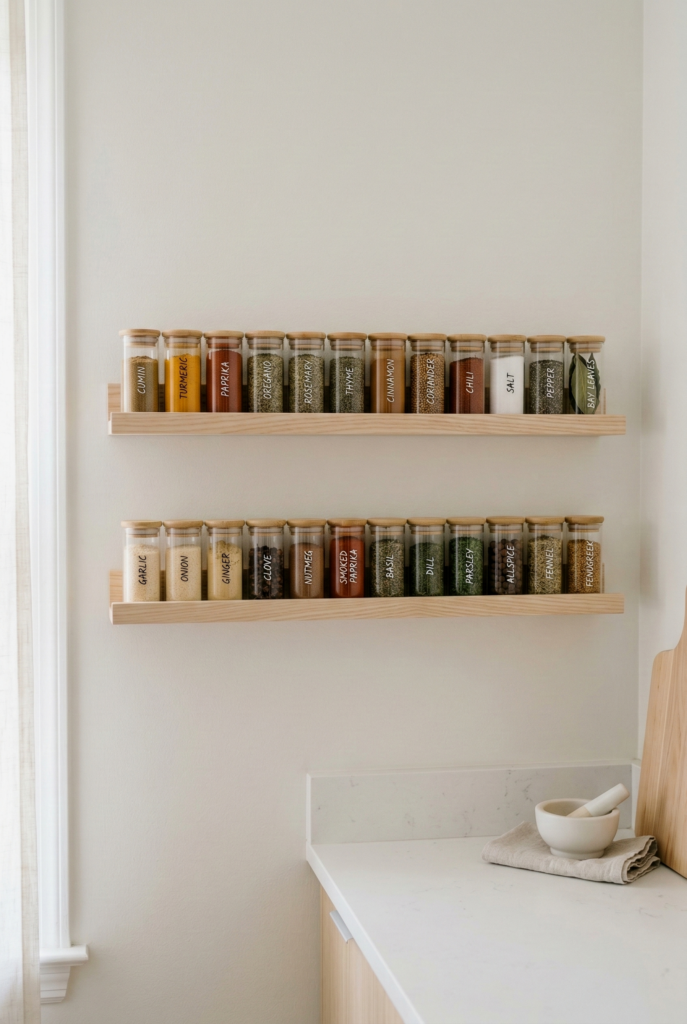
Sometimes you don’t need a deep, heavy 12-inch shelf. If you just need a place for spices, extracts, and small oils, install very shallow picture ledges. These ledges sit practically flush against the wall.
To keep your shallow ledges looking like serene Japandi decor rather than clutter, decanting is mandatory. Remove all brightly colored plastic packaging and transfer your spices into uniform, clear glass jars with minimalist bamboo lids.
7. Renter-Friendly Door Removal Hack
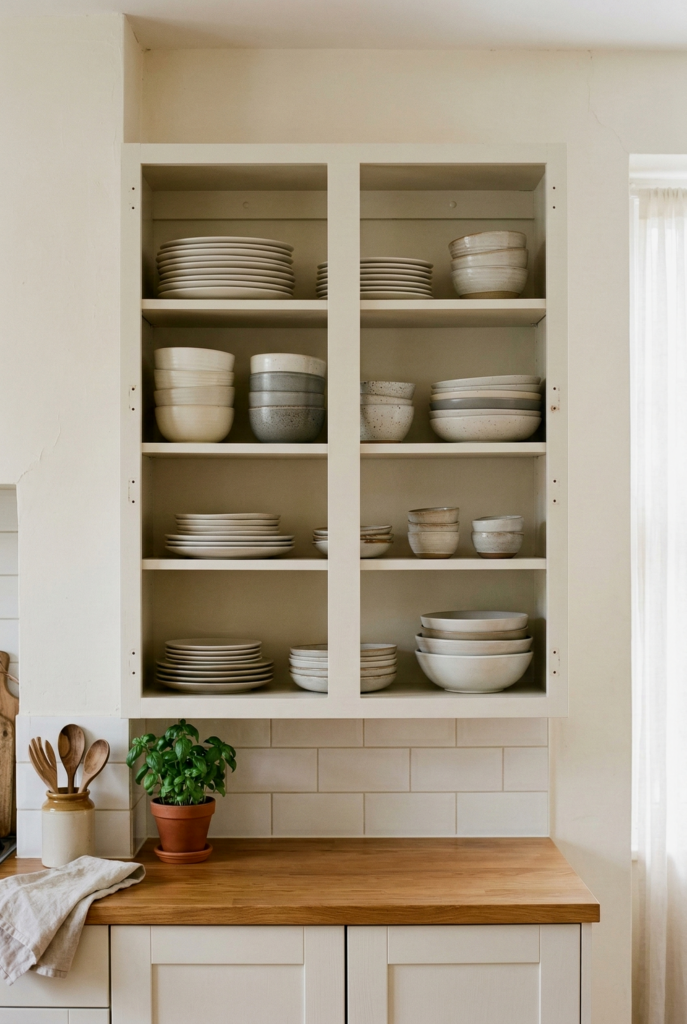
If you are renting and absolutely cannot drill into the drywall or remove the existing cabinets, you can still get the airy look. Simply unscrew the cabinet doors from their hinges and store them safely under your bed. Paint or line the inside of the cabinet boxes with a beautiful peel-and-stick wallpaper, and display your prettiest dishes!
🛠️ The Renter Cabinet Conversion Guide
- Use a screwdriver to remove the hinges from the cabinet frame (save all screws in a ziplock bag taped to the doors!).
- Fill any visible hinge holes with a tiny dab of removable wood putty or cover them with white electrical tape.
- Clean the interior shelves thoroughly.
- Apply a damage-free peel-and-stick backing (like a subtle linen texture or beadboard pattern) to the back wall of the cabinet to give it a custom “bookshelf” look.
8. Painted-to-Match Monochromatic Shelves
One of the best visual tricks for small spaces is “color drenching.” If you paint your floating wooden shelves the exact same color as the wall behind them, they visually disappear into the background. This monochromatic look makes the shelves feel like seamless, architectural built-ins and allows your colorful ceramics or glassware to truly pop.
Want to nail the monochromatic look? Try these exact designer-approved, airy paint codes for your walls and shelves:
Benjamin Moore
Farrow & Ball
Benjamin Moore
9. Industrial Pipe Brackets
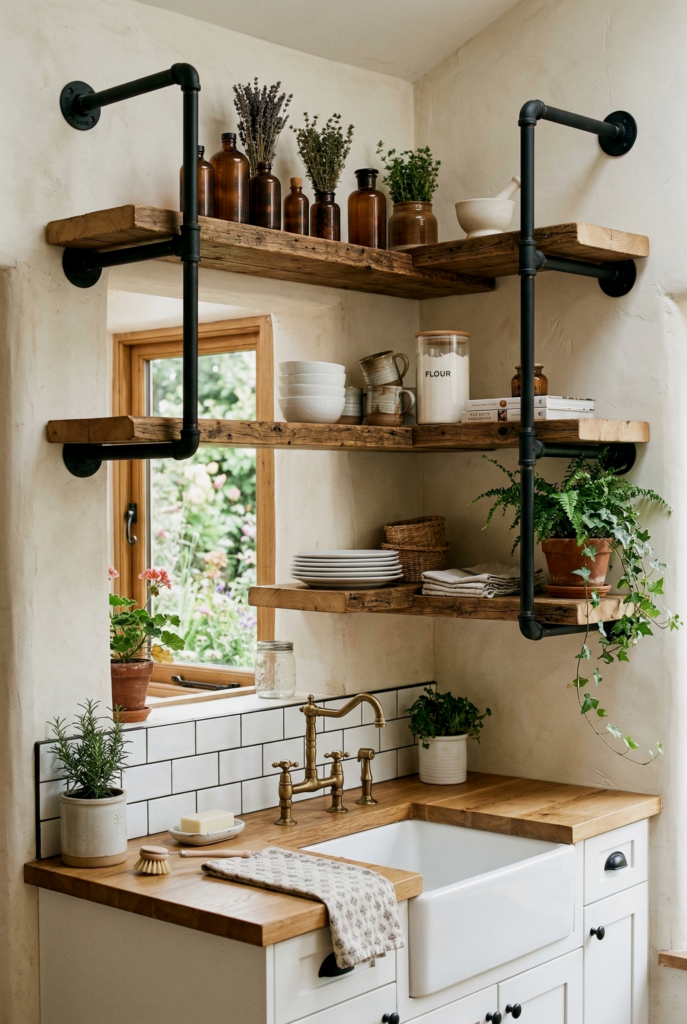
If you prefer a more rustic, Modern Farmhouse or industrial aesthetic, skip the hidden brackets. Use heavy-duty, matte black plumbing pipes to anchor reclaimed wood planks to the wall. It is incredibly sturdy (perfect for heavy stacks of stoneware plates) and adds a ton of character and texture to an otherwise plain drywall.
10. Pegboard Shelving Systems
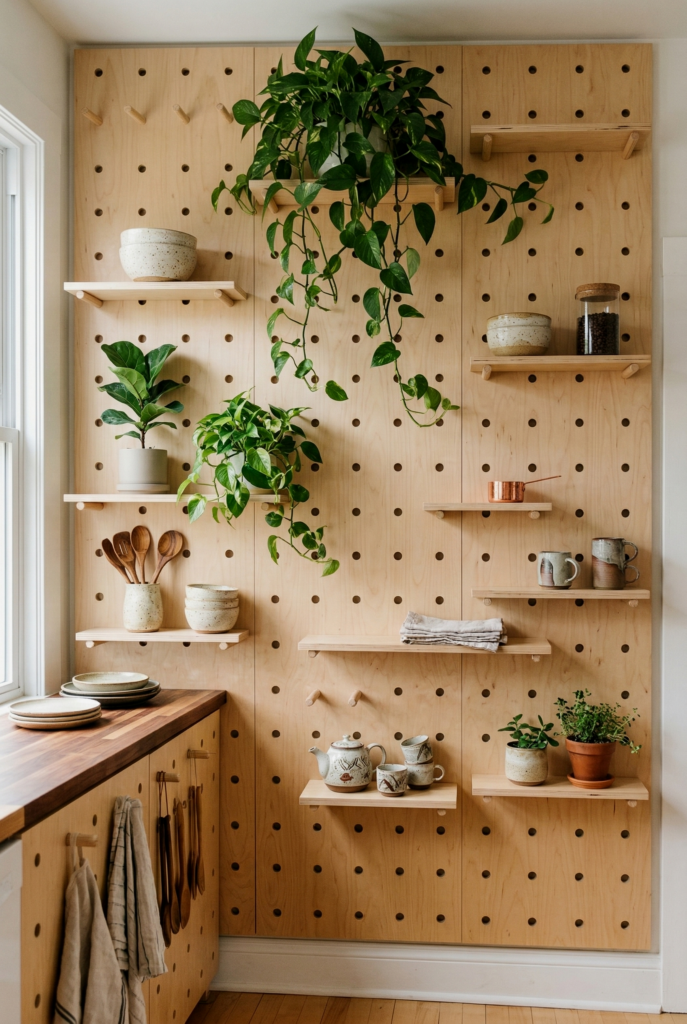
Take a cue from Julia Child and install a floor-to-ceiling wooden pegboard on a blank wall. It is the ultimate customizable open shelving system. You can slot small wooden shelves into the pegs at varying heights depending on what you need to store, and rearrange the entire wall in minutes whenever you buy a taller appliance.
11. Under-Cabinet Open Cubbies
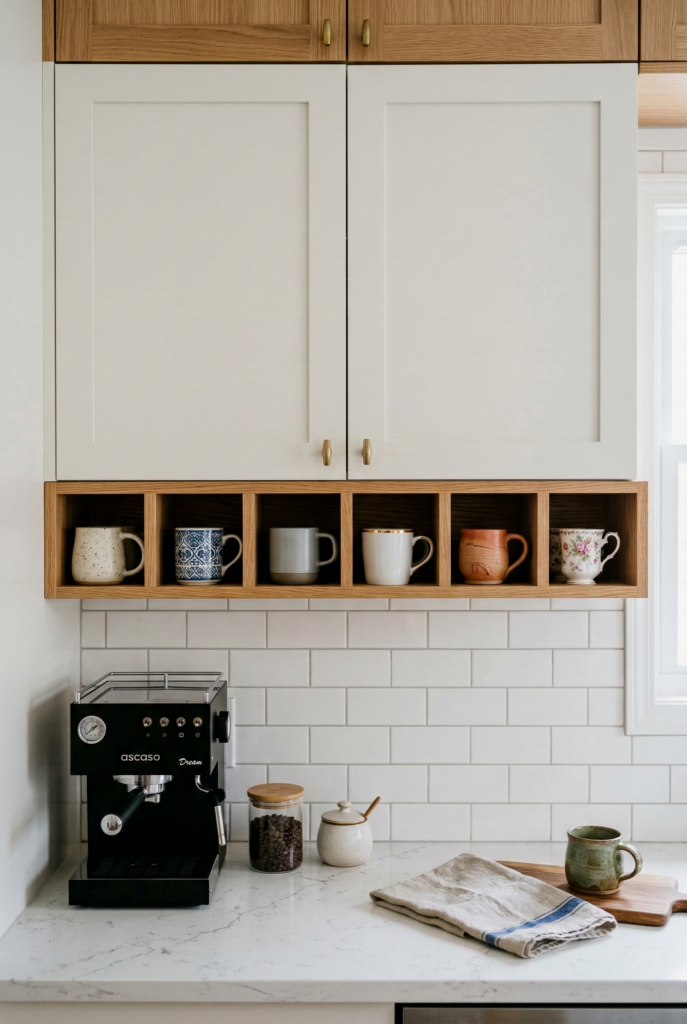
If you can’t part with the storage of your closed upper cabinets but still want the aesthetic of open shelving, add a layer underneath! Installing a custom row of small, open wooden cubbies directly beneath your upper cabinets creates the perfect, accessible display for your coffee mug collection or everyday spices.
12. Repurposed Vintage Bookshelves
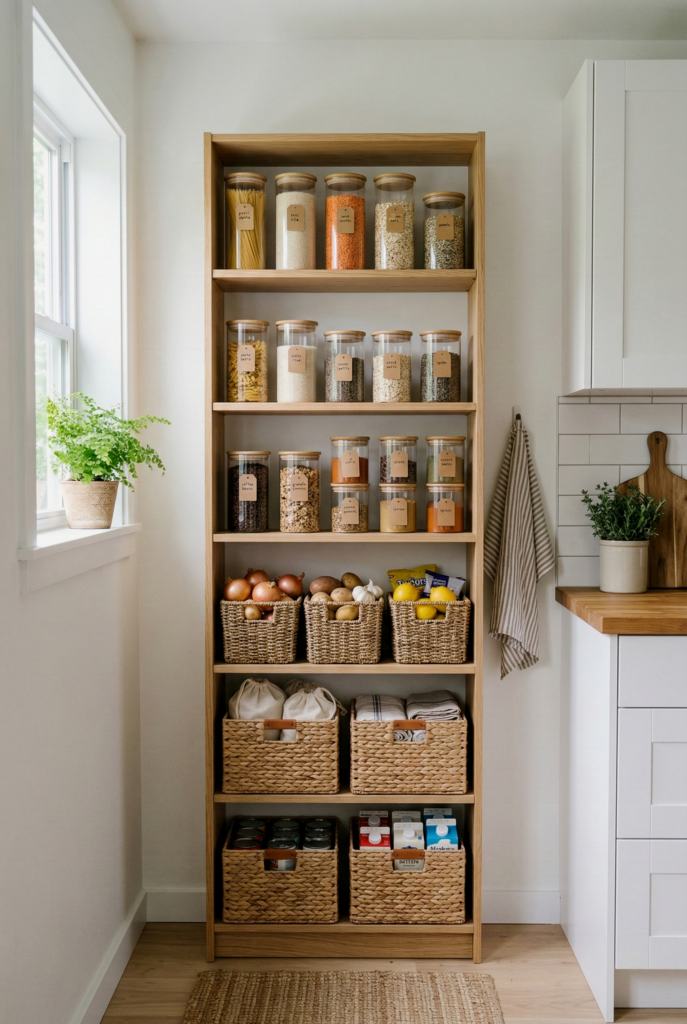
Who says open shelving has to be mounted to the wall? If you have an empty corner or a short blank wall, anchor a narrow, stylish wooden bookshelf to it. When styled intentionally with matching woven baskets on the bottom shelves and beautiful glass decanting jars on the top, it acts as a gorgeous, freestanding open pantry.
Before you build open shelves, you must declutter the space. Discover how to organize your hidden storage perfectly.
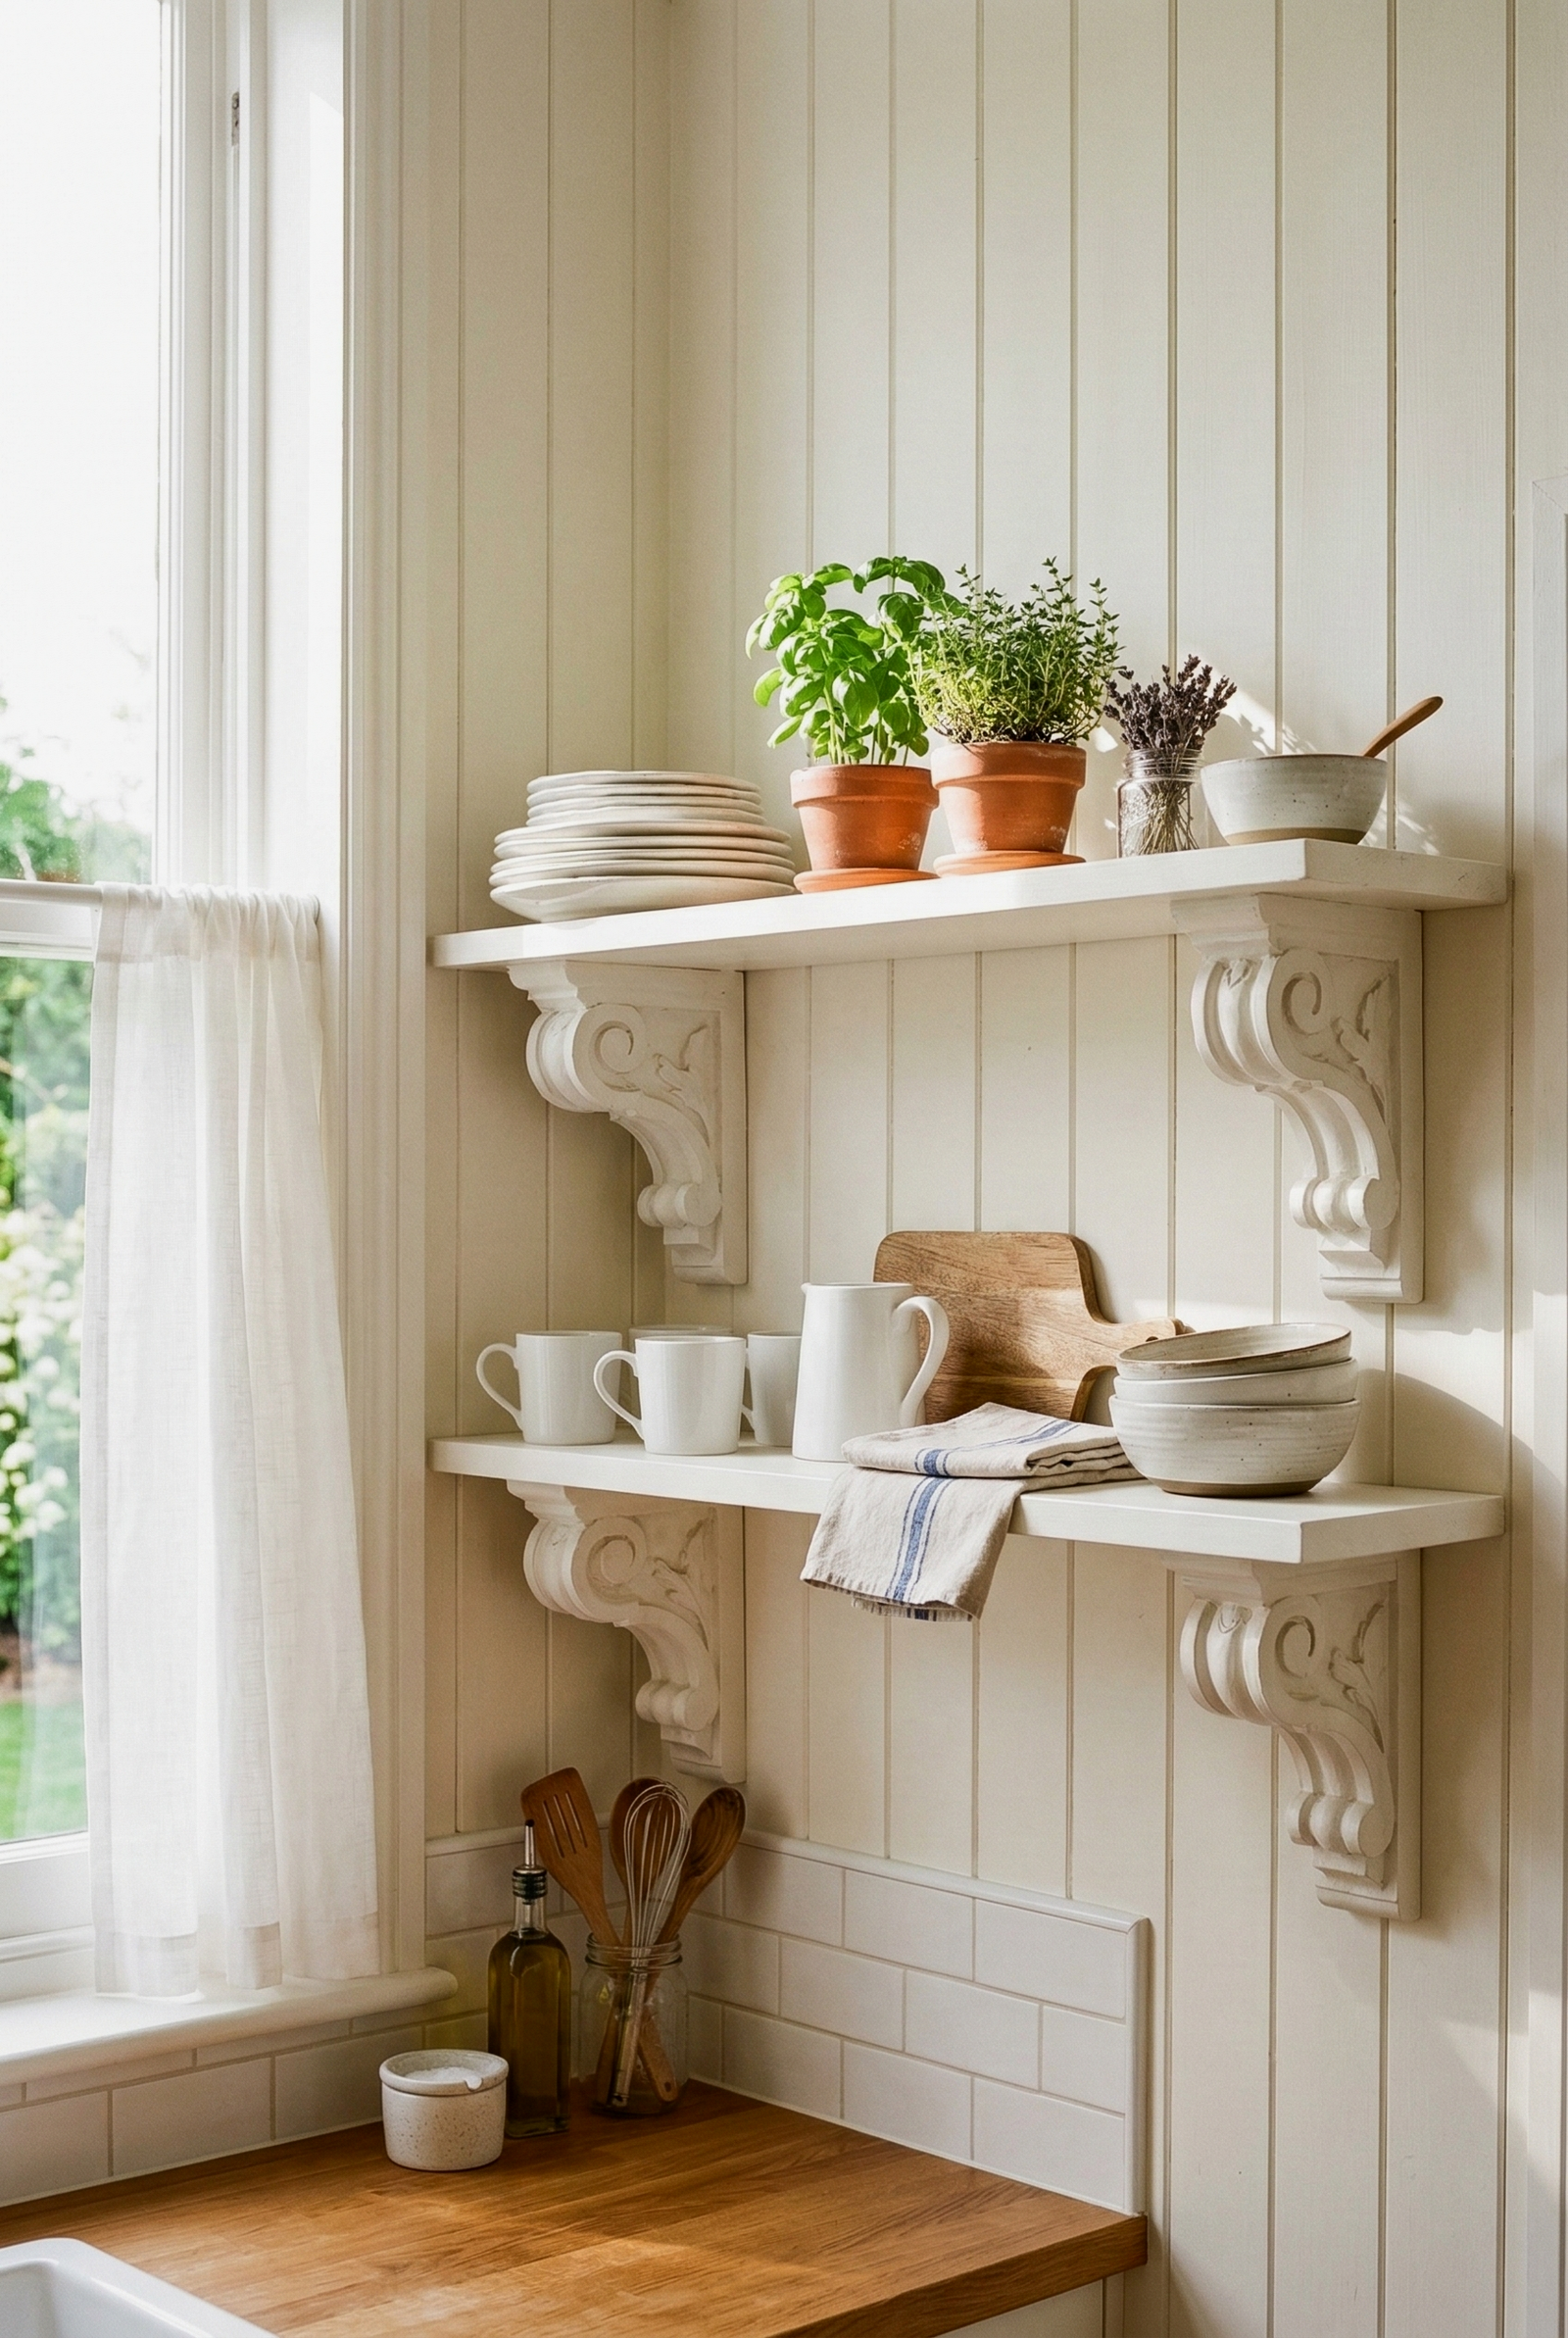
Read the 15 Small Kitchen Organization Ideas Here13. Modern Farmhouse Bracketed Shelves

For a classic, charming look, support your painted wooden shelves with ornate, curved wooden corbel brackets. Against a backdrop of vertical shiplap or classic white subway tile, this creates a warm, inviting Modern Farmhouse aesthetic that instantly makes a small kitchen feel like a cozy country home.
14. Over-the-Window Shelving
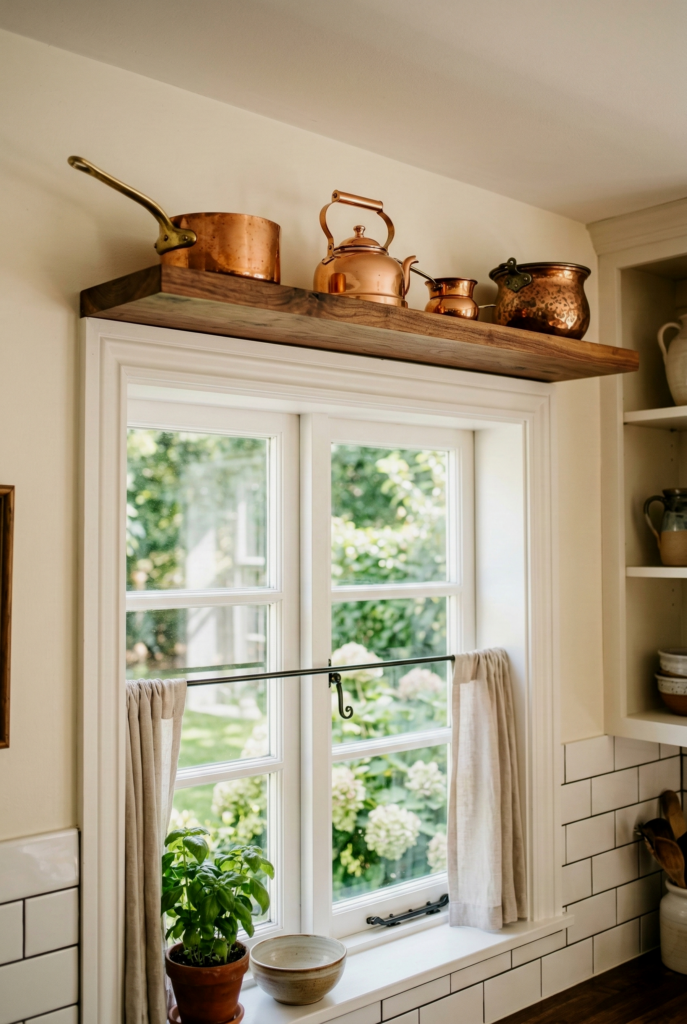
The 12 to 18 inches of wall space directly above your kitchen doorway or large windows is completely dead, unused real estate. Install a deep, heavy-duty shelf right above the trim. Use it to display your least-used but most beautiful items—like vintage copper pots, large serving platters, or woven baskets.
15. End-of-Cabinet Side Shelves
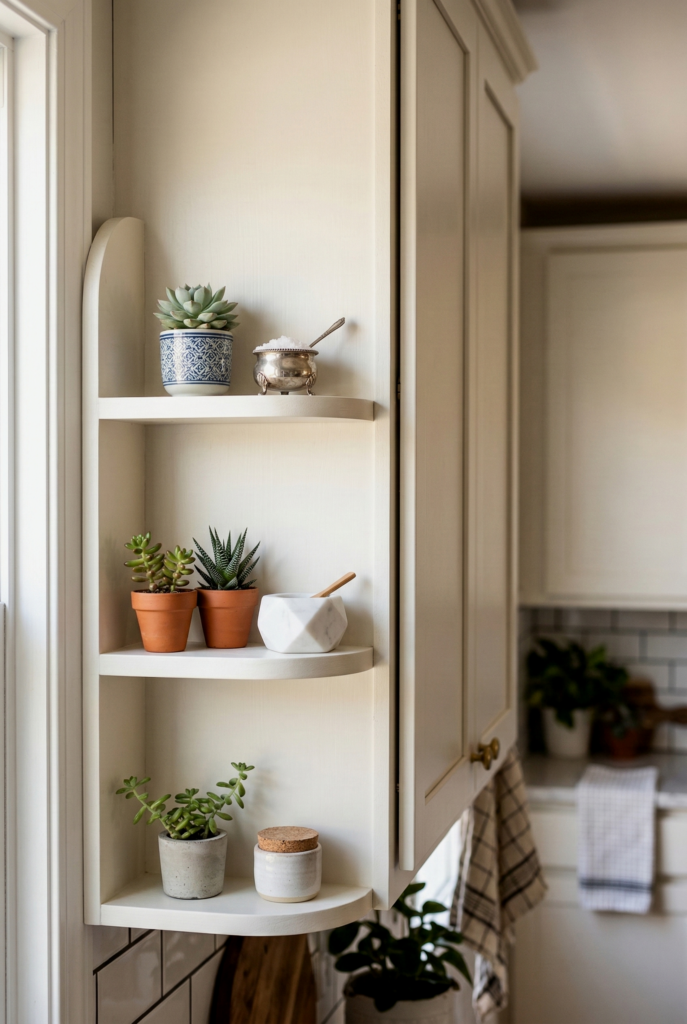
If a run of upper cabinets ends awkwardly in the middle of a wall, soften the harsh right angle by attaching small, curved open shelves to the exposed side panel. It creates a beautiful transition, giving you a tiny, highly visible spot to display small succulents, salt cellars, or a vintage kitchen timer.
Start small! You don’t have to rip down your entire kitchen. Try taking the doors off just one cabinet this weekend, or install a single floating shelf above your coffee maker to see how much lighter the room feels.
Is open shelving in a kitchen a bad idea?
It is only a bad idea if you do not like to stay organized! Open shelving forces you to keep things tidy and requires you to occasionally dust your plates. However, for small kitchens, the trade-off is almost always worth it because it drastically expands the visual footprint of the room.
How do you style open shelves in a small kitchen?
The key is balancing function and aesthetics. Stick to a cohesive color palette (like white ceramics and clear glass). Place heavy, daily-use items on the bottom shelf, vary the heights on the middle shelves by leaning cutting boards, and always add a trailing plant to the top shelf to bring the display to life.
What is the standard depth for open kitchen shelves?
The ideal depth depends on what you are storing. For standard dinner plates and bowls, 10 to 12 inches deep is perfect. If you are only storing spices, coffee mugs, or small jars, a shallow 4 to 6-inch shelf is much better because it protrudes less into your tiny kitchen’s walkway.
Never trust drywall anchors for dishes! A stack of ceramic plates is incredibly heavy. Always ensure your shelf brackets are drilled directly into the wooden wall studs to prevent the shelf from ripping out of the wall and shattering your favorite dinnerware.