Zoning Your Space: 400 to 500 Sq Ft Studio Apartment Ideas
I spent the first three months in my 450-square-foot studio feeling like I was living in a very expensive storage unit. No seriously, it was a mess. My bed was my dining chair, my “office” was a corner of the kitchen counter, and the visual clutter was genuinely exhausting. The problem wasn’t the size—it was the lack of boundaries. When you have 400 to 500 sq ft, the problem isn’t “can I fit a bed?”, it’s “how do I stop my bed from being my dining chair?”. The difference is unreal when you finally commit to zoning.
Creating “rooms” without actual walls is an art form, but once you nail it, the vibe of your home completely shifts. It’s about more than just furniture placement; it’s about psychology. You need to feel like you’ve “arrived” in the living room after leaving the “bedroom,” even if they’re six feet apart. If you’re just starting your small-space journey, you’ll definitely want to check out The Ultimate Guide to Small Studio Apartment Ideas: Making Every Square Inch Count for the master guide on foundational layouts, but today, we are going deep on the magic of zoning.
✨ Before You Start: Zoning Your Space: 400 to 500 Sq Ft Studio Apartment Ideas Mindset
Rug Zoning for Living Areas
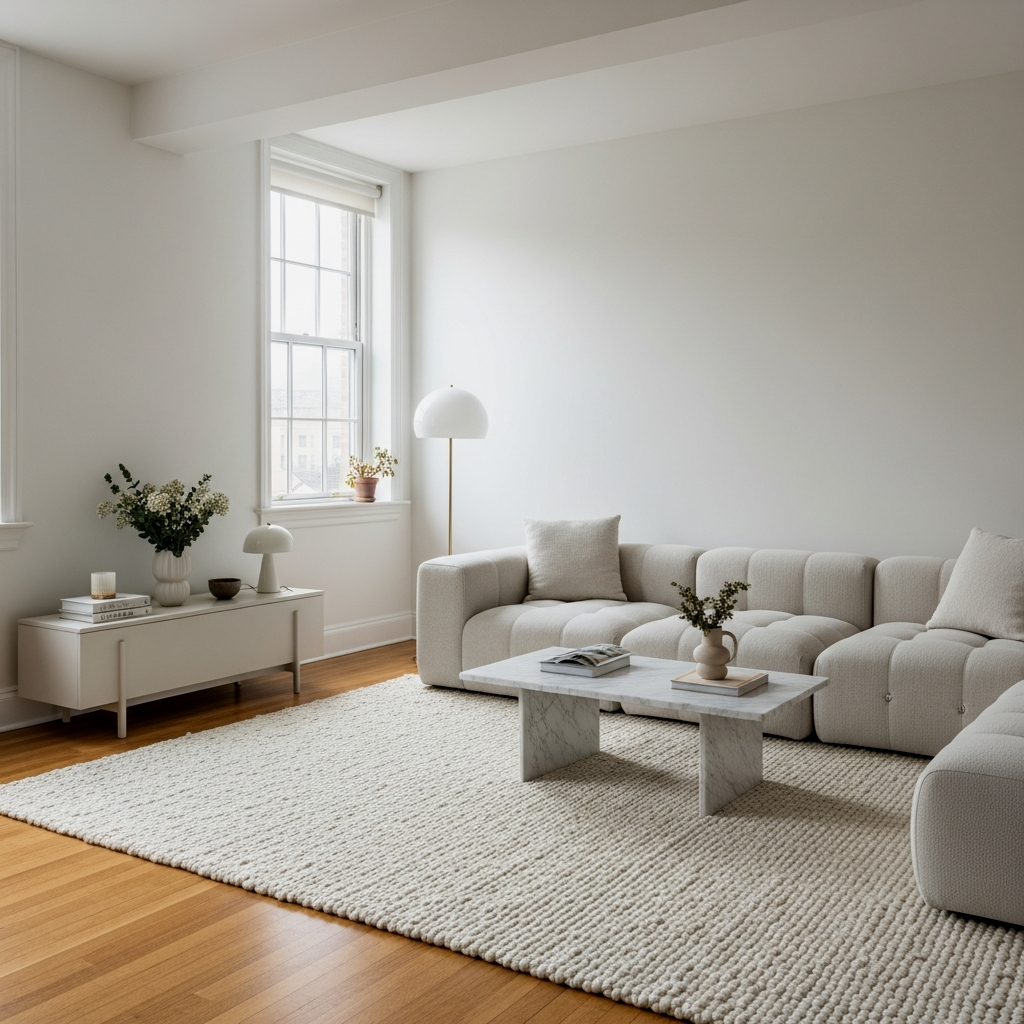
Trust me on this one: rugs are the most powerful tool in your kit. In a 500 sq ft space, a large area rug acts as a “boundary” for your living room. When the front legs of your sofa and accent chairs sit on a rug, it tells your brain, “This is the lounge.” Without it, your furniture is just floating in a sea of floorboards. I’m obsessed with using a plush, high-pile rug for the living area to contrast with the harder surfaces of the kitchen or dining “zones.”
Tape out the rug size on your floor with painter’s tape before buying. For a 400-500 sq ft studio, an 8×10 rug usually provides that “anchored” luxury feel without swallowing the room.
Open-Shelving Room Dividers
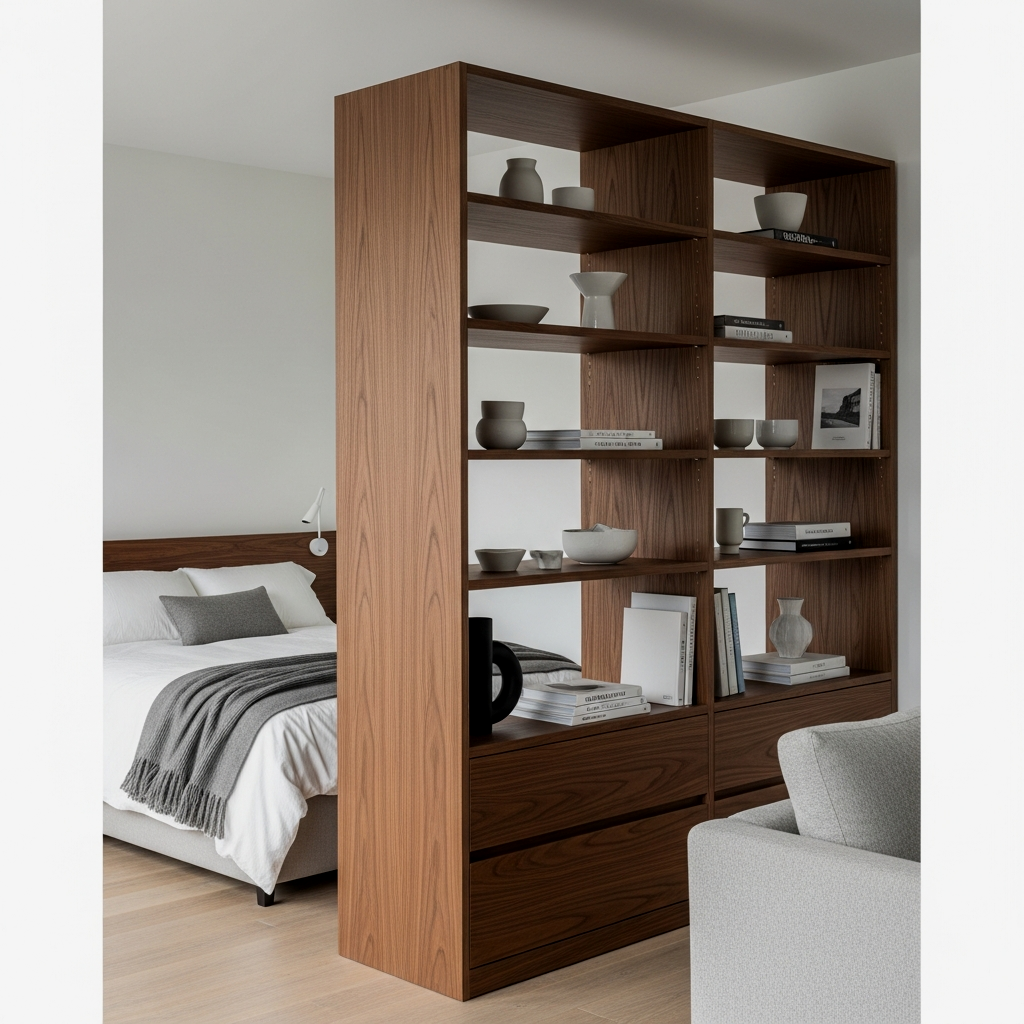
I’ve seen people try to use solid walls or heavy screens, and it usually just makes the apartment feel like a claustrophobic maze. Open shelving is the best kept secret for 400 to 500 sq ft studio apartment ideas because it provides separation without killing the light. It’s also a lifesaver for storage. If you’re struggling with where to put your books or decor, check out these Mini Studio Apartment Ideas for Rental-Friendly Storage to see how to style these shelves without them looking cluttered.
Leave at least 25% of the shelf space empty or occupied by glass items. This keeps the “sightline” open, which tricks the eye into thinking the space is much larger than it is.
The Designated Entryway Foyer
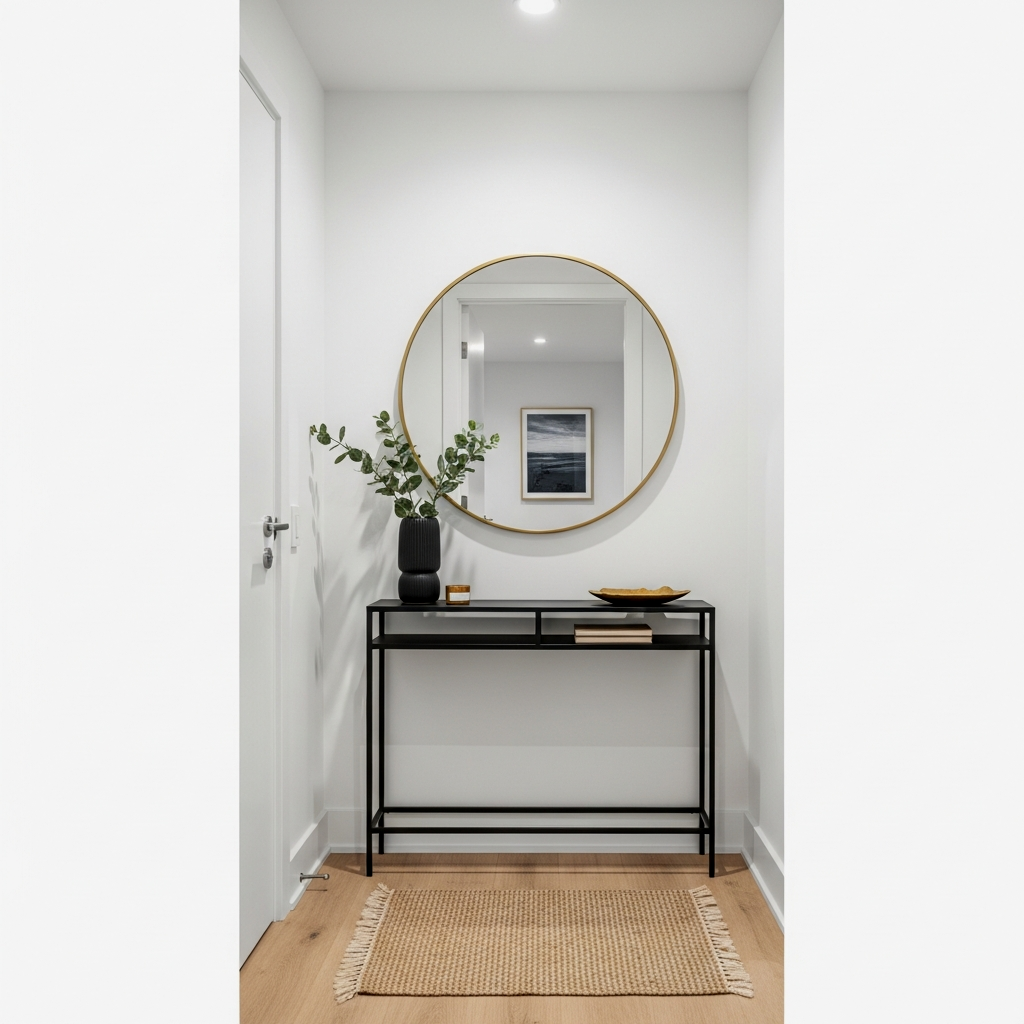
I am genuinely obsessed with the way a simple console table can define a foyer. In a studio, you often walk straight into the “everything,” which is why creating a landing strip is vital. Even if it’s just a 30-inch slice of wall next to the door, a console table with a mirror above it creates a “transition zone.” It’s where you drop your keys and shed the outside world before entering your sanctuary. It sounds small, but the difference is unreal.
Apply the ‘Two-Inch Rule’: Never let your furniture touch the walls. Even in a 400 sq ft studio, pulling your sofa or bed just two inches away from the wall creates ‘breathing room’ that makes the layout feel professionally designed rather than crammed.
Layout Archetypes
When you’re working with this much square footage (relatively speaking!), you have enough room to play with “archetypes”—standard layouts that designers use to create balance. These aren’t just for big houses; they are genuinely life-changing for studio flow.
Floating Furniture Layout Archetypes
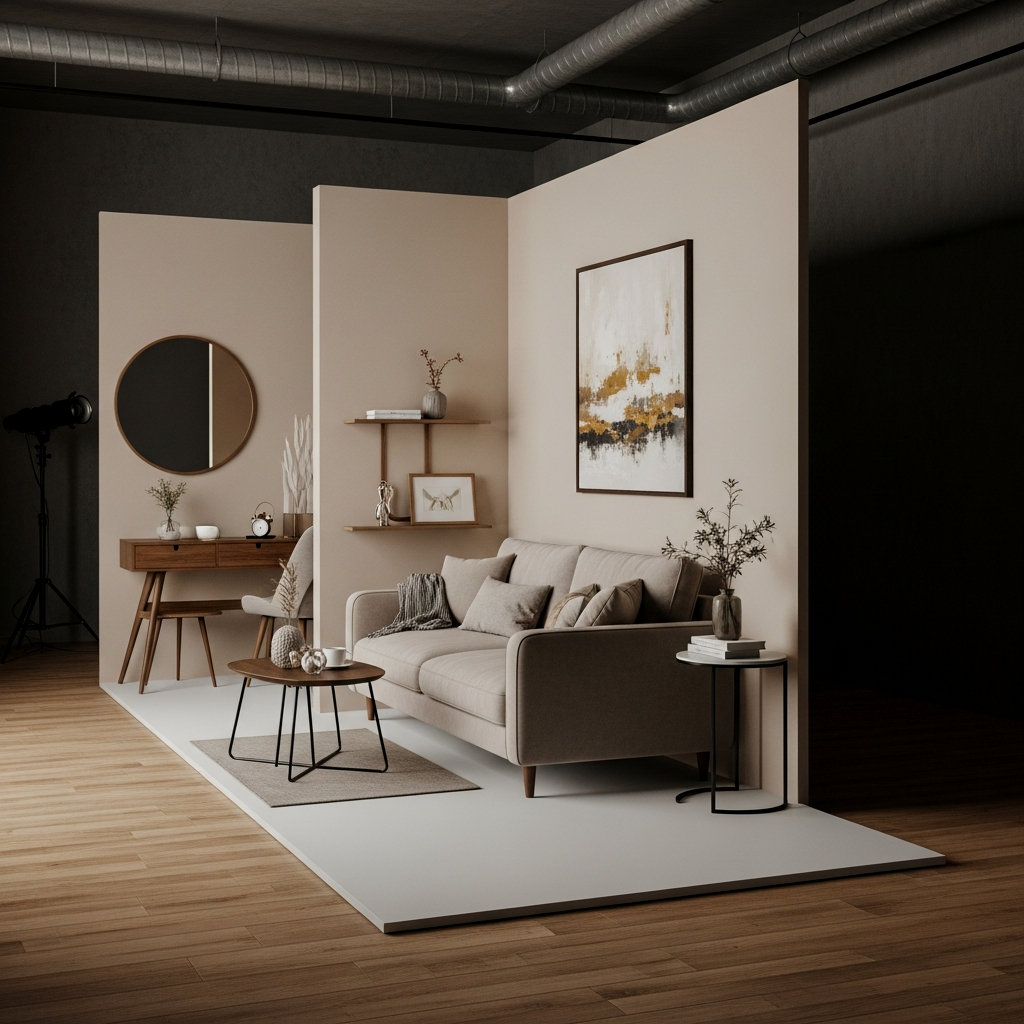
Most people’s instinct is to push every single piece of furniture against a wall to “open up” the middle. Stop! That actually makes the room look like a waiting area. A floating layout involves pulling the sofa into the center of the space, perhaps with a slim table behind it. This creates a distinct island for living that feels cozy and intentional. It’s one of the best 400 sq ft studio apartment ideas for making the space feel like a “real” home.
Zoning with a Circular Dining Rug
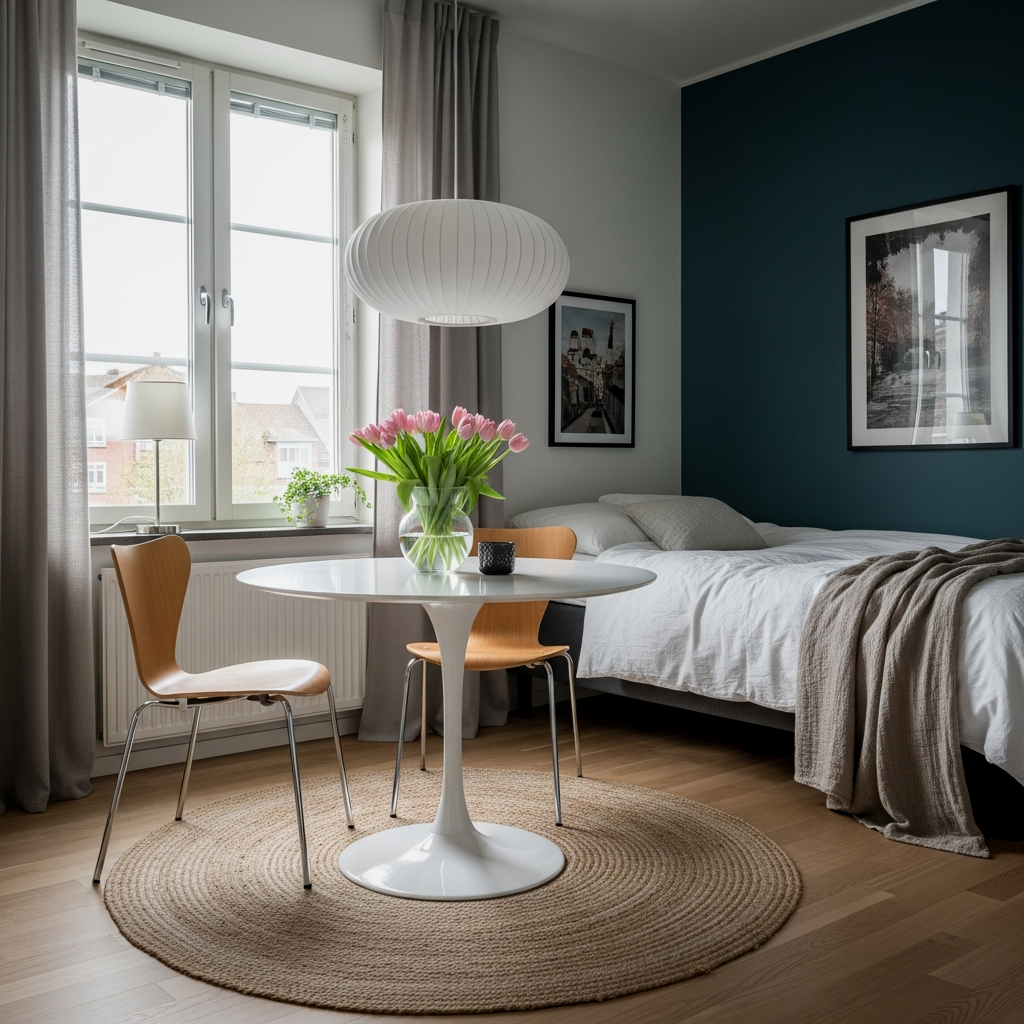
If your living area rug is rectangular, use a circular rug for your dining “nook.” The contrast in shapes acts as a visual boundary that doesn’t require a physical wall. A small round table on a round rug tucked into a corner or placed between the kitchen and living area creates a sophisticated dining zone that feels completely separate from your workspace or sleeping area.
Ensure the dining rug is at least 24 inches wider than the table on all sides. You want the chairs to stay on the rug even when they are pulled out for sitting.
Glass and Steel Room Separators
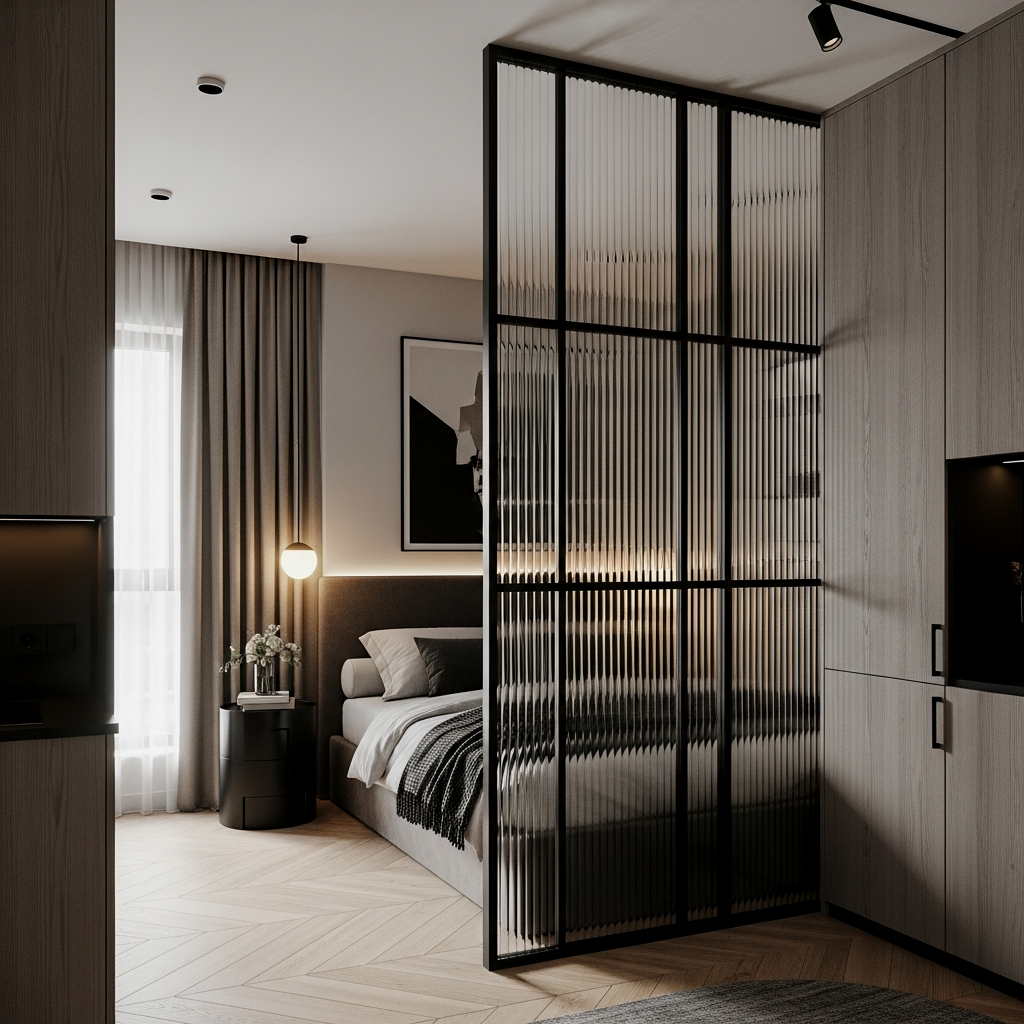
For those who want a more permanent feel without the construction, glass and steel partitions are the ultimate high-end move. They scream “luxury loft” and do a brilliant job of cordoning off a sleeping nook. If you’re aiming for a more elevated look, I highly recommend browsing this High-End Aesthetic Guide for Small Studios for inspiration on how to integrate these architectural elements seamlessly.
If you’re renting and can’t install a track, look for ‘tension pole’ room dividers that mimic the black-frame glass look. They give the same industrial-chic vibe without the security deposit risk.
Back-to-Back Furniture Zoning
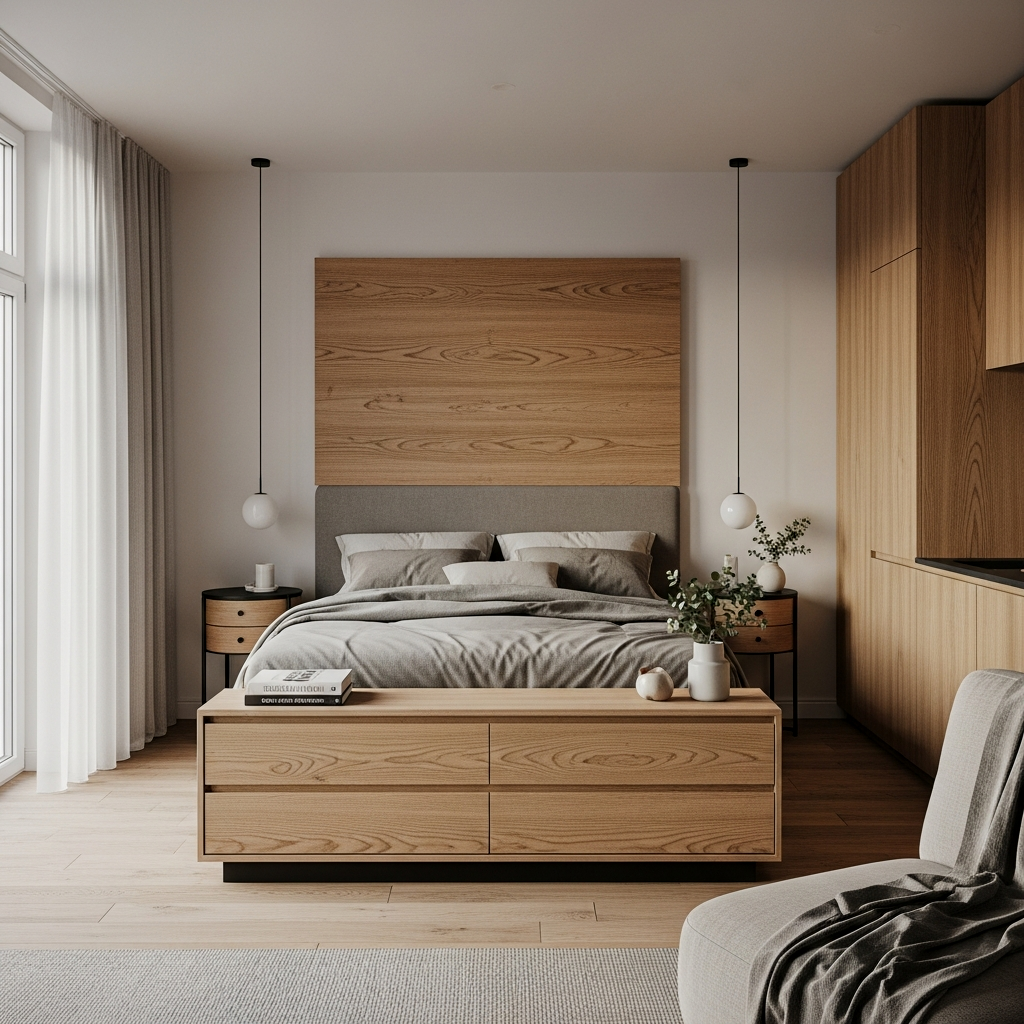
This is a classic pro move. Place your sofa facing the living area, and put a desk or a dining table directly against the back of it. This “back-to-back” placement creates two distinct zones using zero extra floor space. It’s a great way to incorporate Furniture That Does Double Duty, as that desk can serve as a workspace by day and a sideboard/buffet by night when you’re hosting friends.
The exact pieces that make these ideas work:
The Entryway Drop Zone
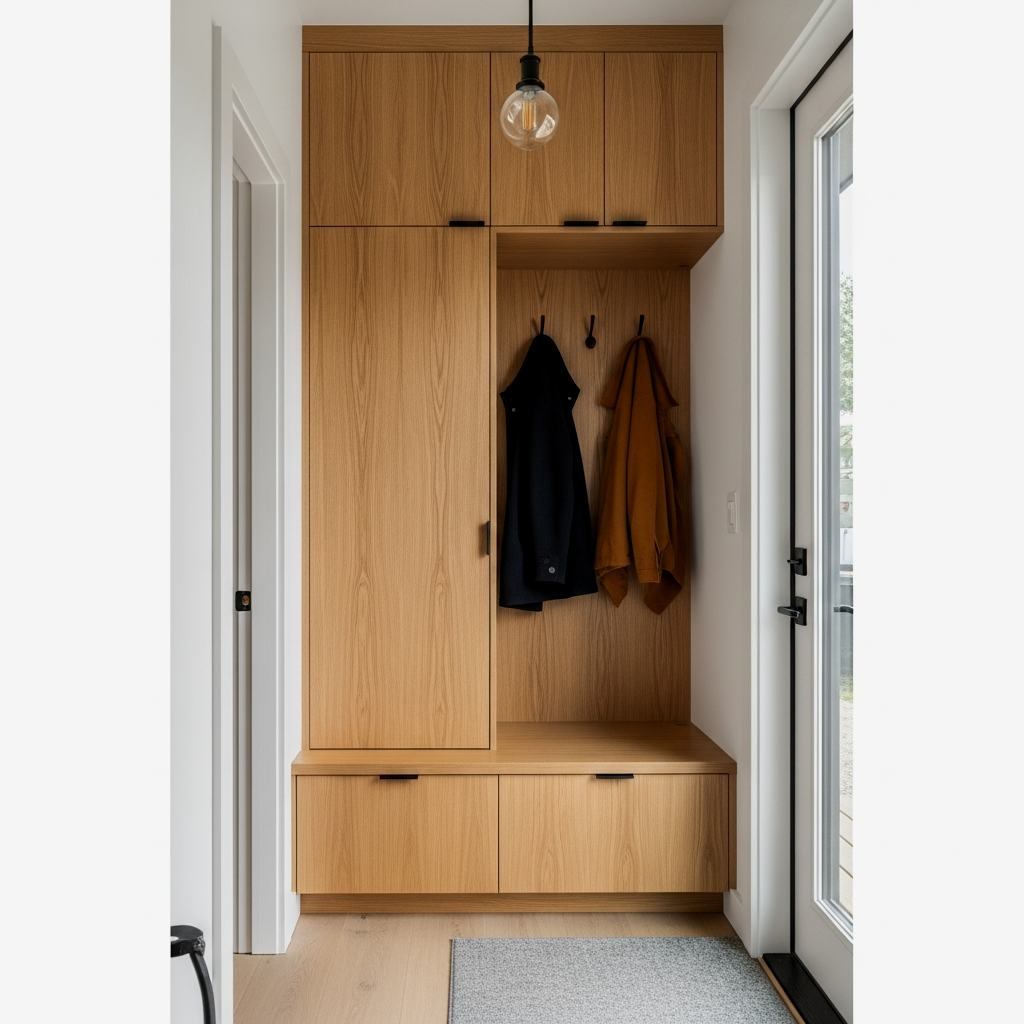
While the console table handles the “look,” the drop zone handles the “life.” In a 450 sq ft studio, shoes and coats left by the door create instant chaos. Zoning this area with a dedicated wall-mounted rack or a small bench tells your brain that the “outside” stops here. When the entryway is tidy, the rest of the apartment feels ten times more spacious. No seriously, the psychological impact of a clear entryway is huge.
Symmetrical Layout Archetype
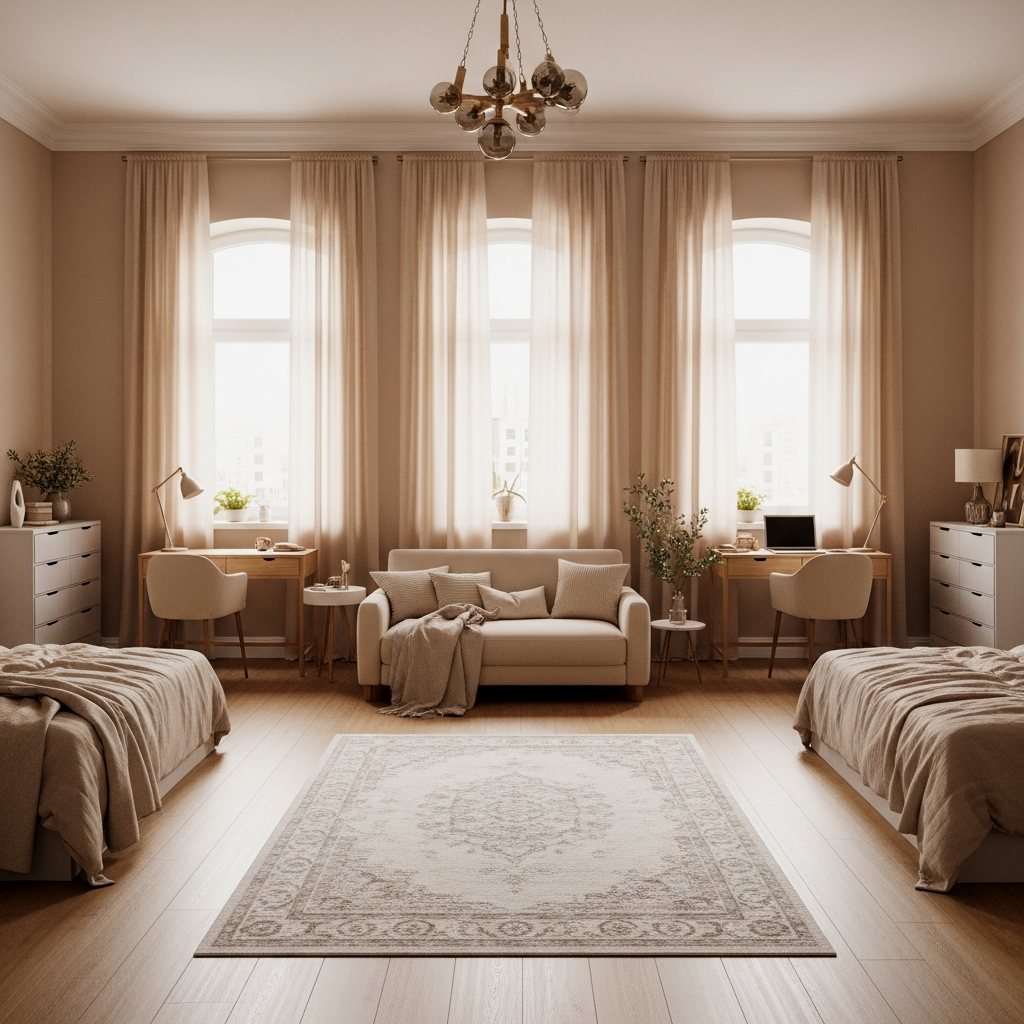
If your studio is a standard rectangle, symmetry is your best friend. Centering your bed on one wall and your sofa on the opposite wall, with a clear “path” in between, creates a sense of order. Use matching nightstands or identical floor lamps on either side of a zone to reinforce the boundary. Symmetry feels “expensive” because it mimics the layout of a hotel suite or a larger apartment.
Use mirrors to double your symmetry. Placing a mirror opposite your main window or centered behind a ‘zone’ reflects the layout and makes the zoning feel twice as intentional.
Workspace Zoning via Console Tables
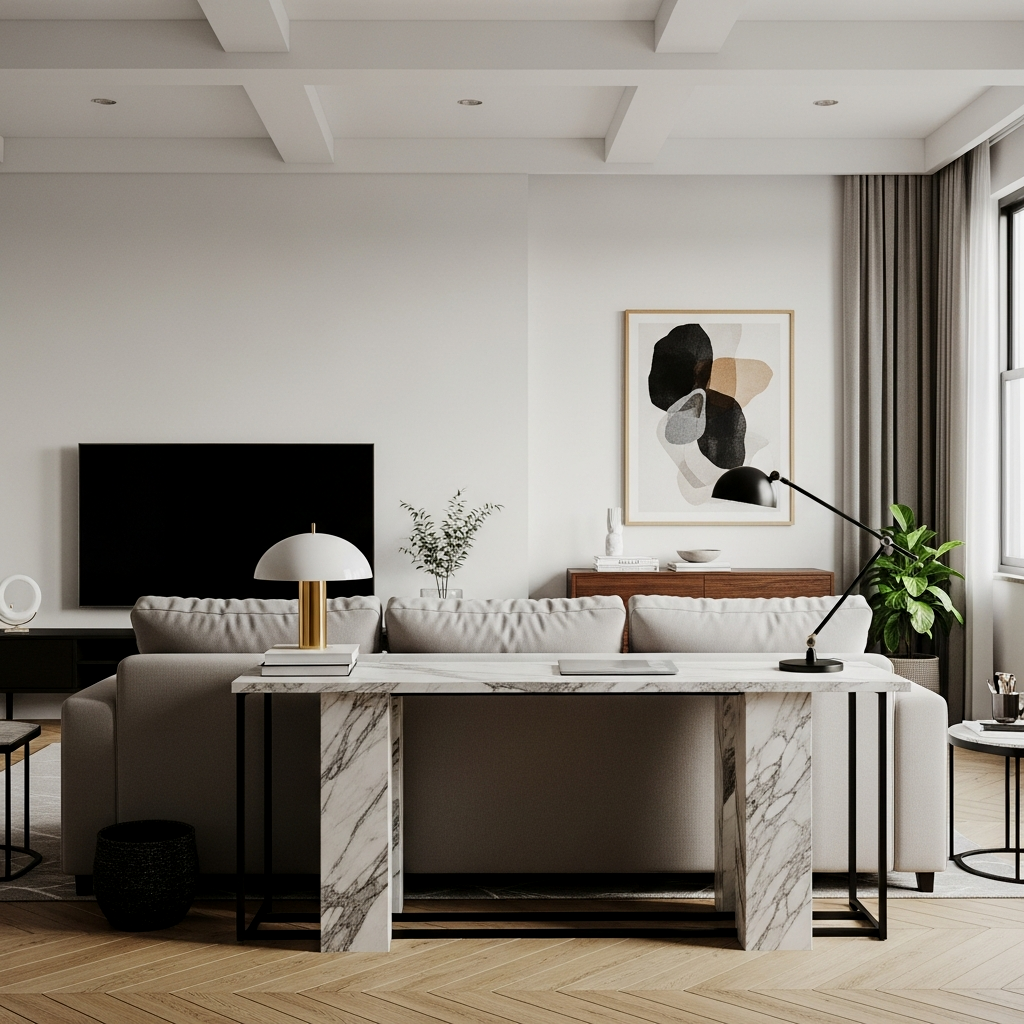
Don’t want a clunky desk? A long, slim console table can easily act as a workspace that doesn’t scream “office.” By placing it behind a sofa or along a narrow hallway-like stretch of the studio, you define a work zone that disappears when you’re done for the day. It’s the perfect way to maintain a “living” vibe without the stress of a visible monitor staring at you while you eat dinner.
Color Blocked Zoning
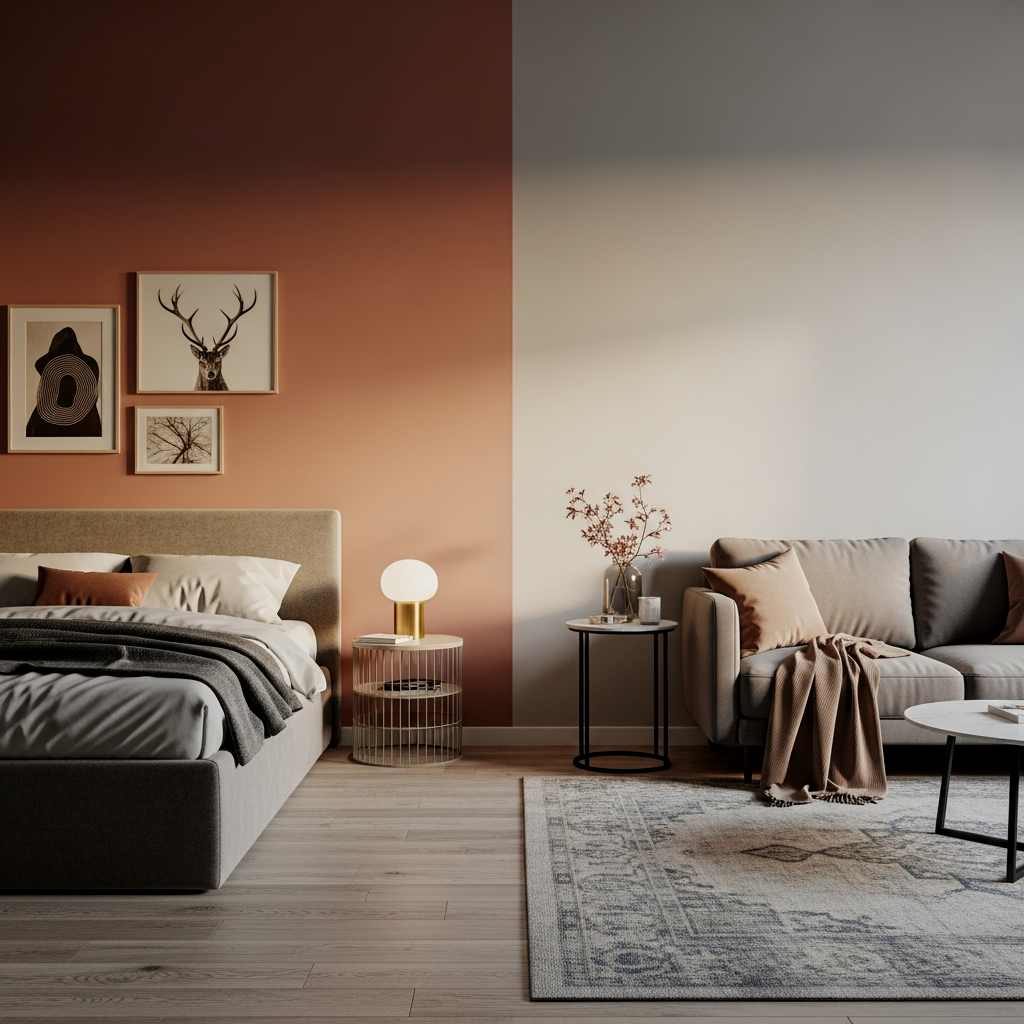
If you can’t add furniture, add color. Painting a single corner where your bed sits a different shade (even just a slightly darker neutral) creates a “nook” effect. This “color blocking” tells the eye exactly where one zone ends and the next begins. If you’re a renter and can’t paint, use a large-scale piece of art or a removable wall decal to achieve the same result. It’s a best kept secret for adding depth without taking up an inch of floor space.
Try ‘half-wall’ color blocking. Paint only the bottom 4 feet of a wall in a specific zone. It grounds the furniture in that area without making the whole studio feel dark or small.
To truly elevate your zoning, use ‘Layered Lighting.’ Each zone should have its own lighting circuit. A floor lamp for the living zone, a small pendant or task light for the kitchen, and a warm, dimmable lamp for the bedside. Turning off the lights in one zone while ‘occupying’ another is the most effective way to mentally separate your space.
The Floating Sofa Anchor
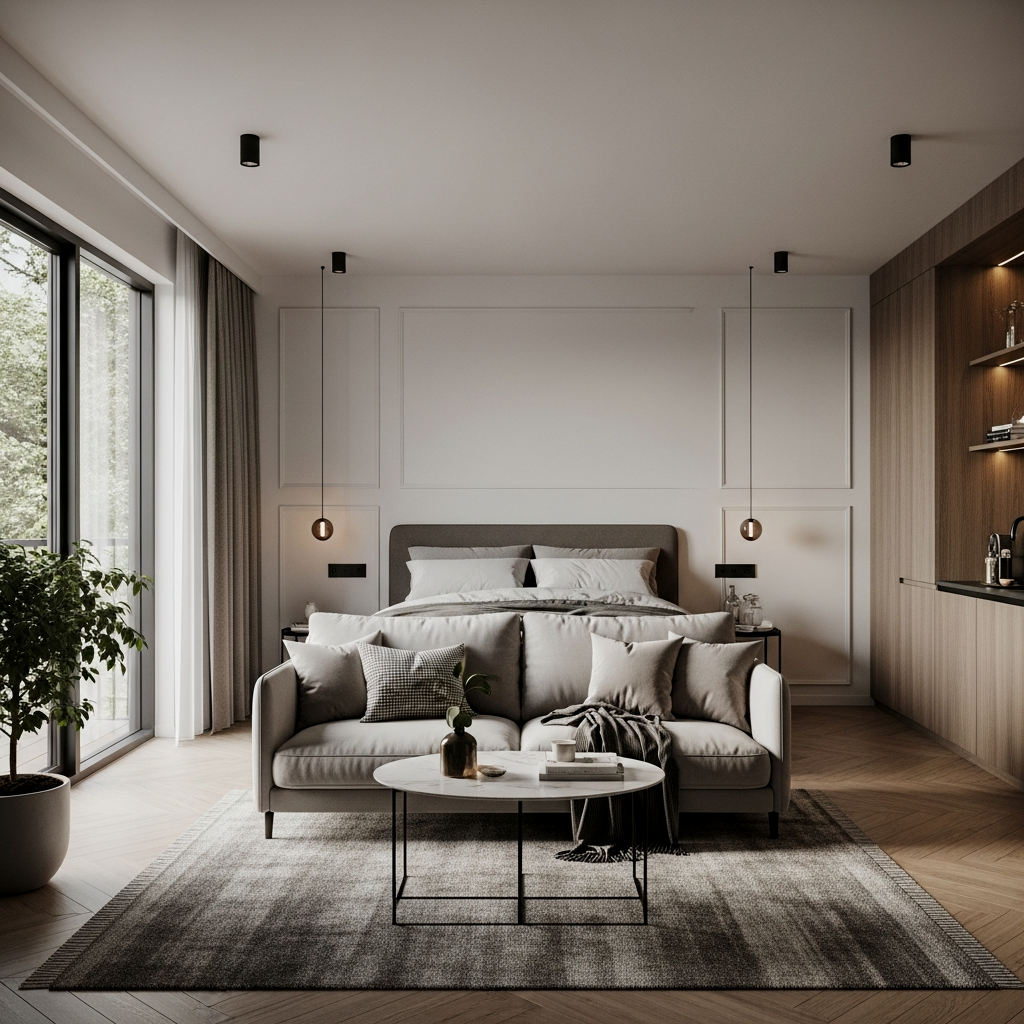
The floating sofa is the king of 500 sq ft studio apartment ideas. By placing your sofa in the middle of the room, you automatically create a “hallway” behind it. This creates a natural flow through the apartment and keeps your living area feeling like a cozy, protected nest. It prevents the “room against the walls” look and makes the space feel sprawling and thoughtfully curated.
When floating a sofa, choose a piece with a low back. This maintains the open view of the entire studio, preventing the furniture from acting like a visual ‘stop sign’ for the eyes.
📏 Zoning Your Space: 400 to 500 Sq Ft Studio Apartment Ideas Quick-Win Checklist
- Rug Sizing: Ensure at least two legs of every furniture piece in the zone touch the rug.
- Visual Height: Use one tall item (bookshelf or plant) to define a corner.
- Pathways: Leave at least 30 inches of walking space between your “zones.”
- Lighting: Assign one unique lamp to every identified area of the studio.
- Consistency: Keep a cohesive color palette across zones to prevent a “choppy” look.
You’ve got this, friend! Living in a studio doesn’t have to feel like living in a single room. It’s all about the boundaries you create. Once you start thinking of your space as a collection of “vignettes” rather than one big box, everything changes. For more inspiration on the big picture, don’t forget to revisit The Ultimate Guide to Small Studio Apartment Ideas: Making Every Square Inch Count. It’s the perfect place to see how these zoning tips fit into a total home transformation!
Frequently Asked Questions
Can I use two different rugs in a 400 sq ft studio?
Absolutely! The trick is to ensure they complement each other without being identical. Try one patterned rug for the living area and a solid, textured jute rug for the dining or bedroom area to create clear visual separation.
How do I zone a studio without making it look smaller?
Use low-profile furniture and transparent materials like acrylic or glass. This allows your eye to see through the “boundaries” to the far wall, which maintains the sense of total square footage while still defining the different areas.
Is a room divider worth it in a 500 sq ft space?
Yes, but choose wisely. An open bookshelf or a sheer curtain is often better than a solid folding screen, as they provide the psychological benefit of a wall without blocking the light that makes a studio feel airy.
What is the best way to separate the bed from the living room?
The “Back-to-Back” method is usually the most space-efficient. Placing the headboard of your bed or the back of your sofa as the divider creates two distinct areas without needing any extra partition furniture.
Does every zone need its own rug?
Not necessarily. While rugs are great anchors, you can also zone with lighting or furniture placement. If your space is on the smaller side of 400 sq ft, too many rugs can make the floor look cluttered, so stick to one or two main anchors.